- Go to the student section of KarismaCMS after successfully logging in, then select View Inquiries.
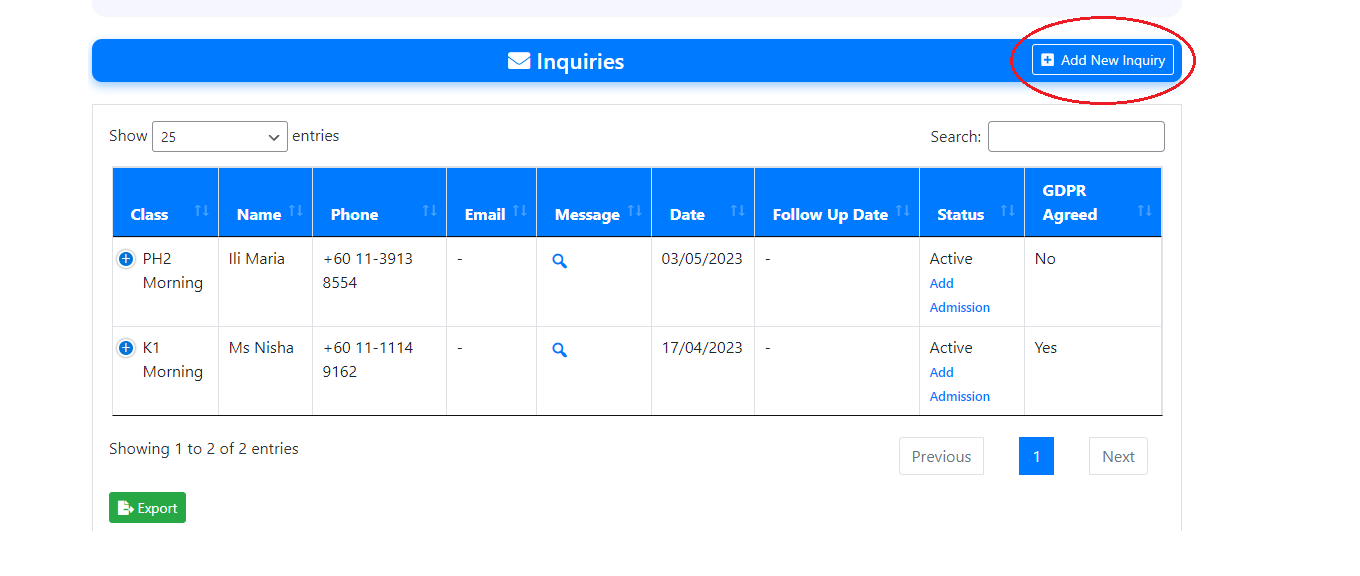
- You may view every inquiry for your school here. You can click the + icon to see all the details of the inquiry, and then you can click the edit icon to edit it.
- Additionally, you can print every inquiry by selecting the export option.
- To add a new inquiry for your school, click add new inquiry.
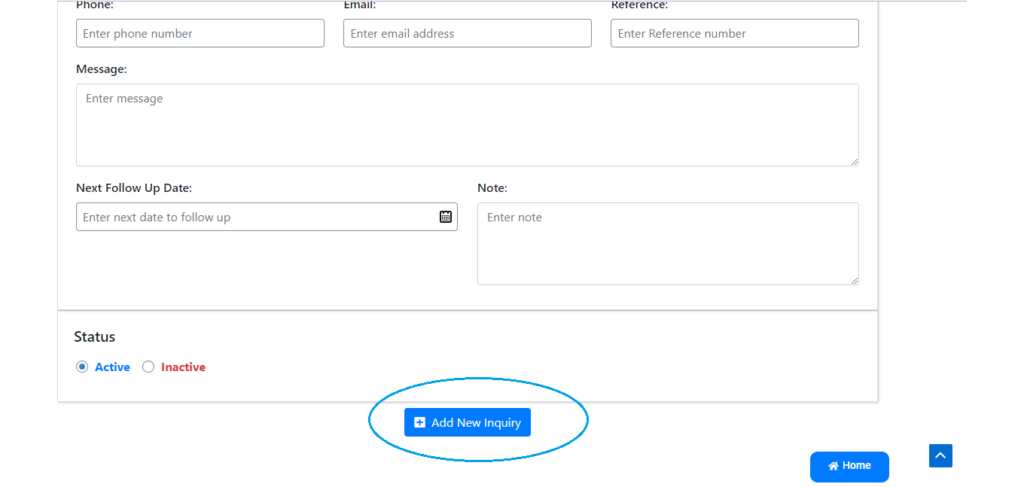
- Add the student’s information, and you can also include a follow-up date for yourself to keep in mind. If the inquiry is still open, select status active; otherwise, select status inactive.
- To add a new admission click Add New Admission under Students.
- All of the student information must be entered here.
- Place student parents’ email addresses in the email field.
- Pick a class and a subject for the students.
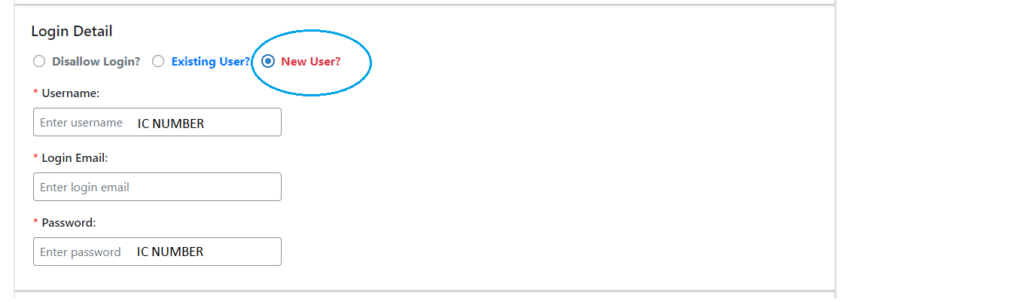
- Enter the student IC number as the username and password after clicking the New user button in the login details box.
- For the fee type to which the student does not relate, click the x button. For an example, if the student is listed in the Explorer programme , remove the kindergarten & go beyond fee type.
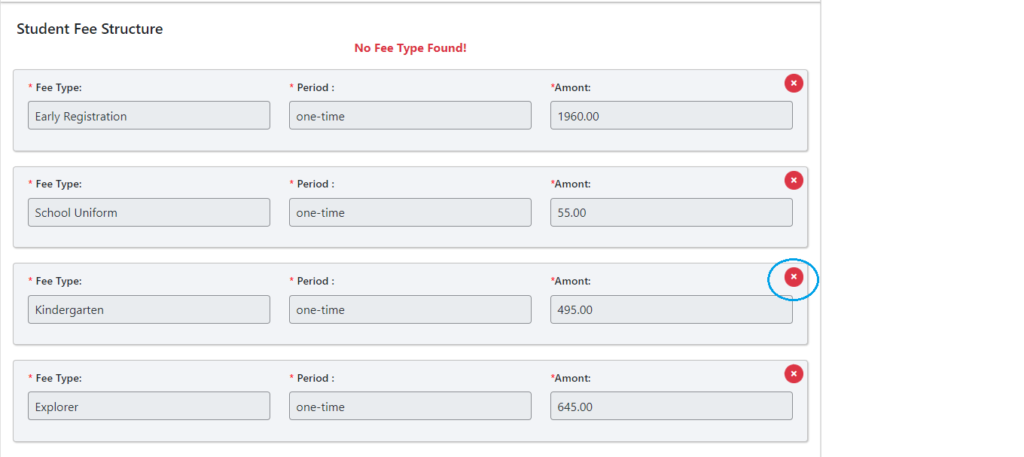
- Once you’ve chosen your fee type, click “status active” and then “submit.”
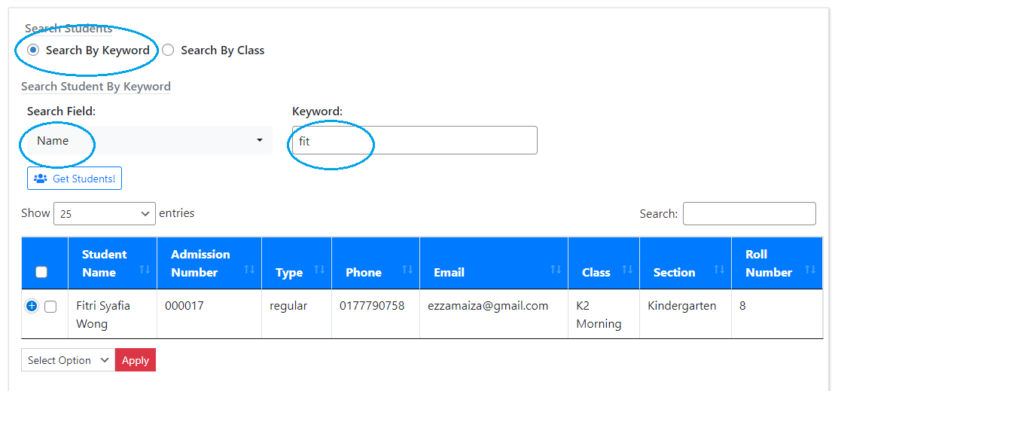
- By selecting “View Students” from the “Students” menu, you may see every student in your kindergarten.
- Here, you have the option to search for students by keyword or class. For an example, choose Name in the search field, enter any student’s name in keyword field , and then click Get Student.
- To access the student details, click the plus icon as well. In addition, you can change the student information by selecting the edit icon.

- Other than that you also can print the students in the list by click the export button at the bottom.
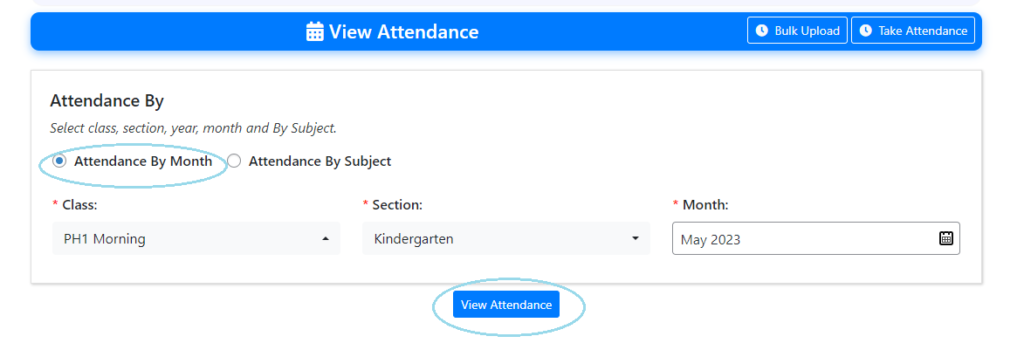
- To take attendance. Select “take attendance” under the students section.
- Then the “View Attendance” page will appear, where you can easily view all of the student attendance by selecting the student’s section, class, and the month you wish to view.
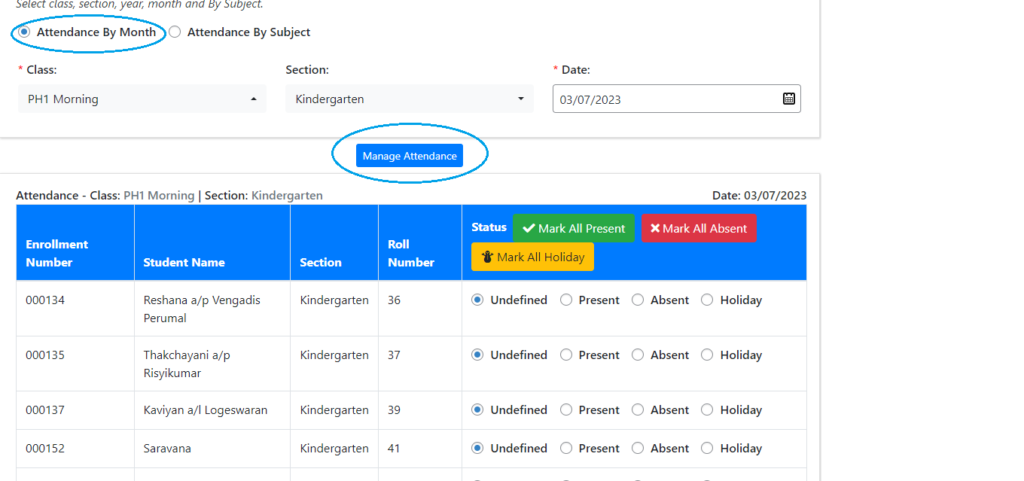
- To take attendance, select “take attendance” at the top of the page.Select the class section and the day you wish to enter attendance in the next step.
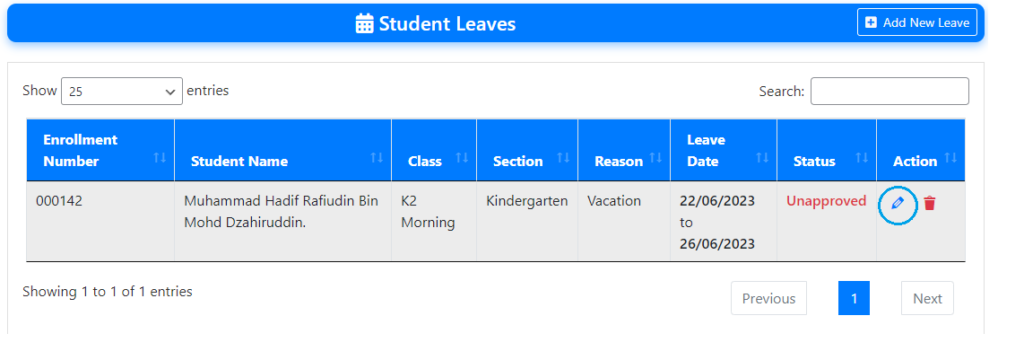
- To view all of the student leave requests made from their dashboard and added by you, click view leave request under the student section.
- Simply click the edit icon in the action column and set the status to approve to approve the student leave request submitted from their dashboard.
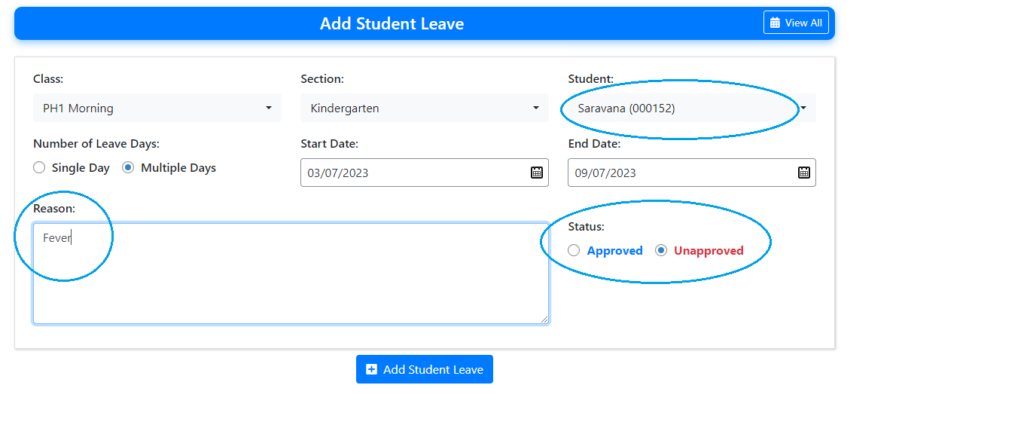
- If you wish to add a student leave request right away, click “add new leave,” fill out the form, and choose whether the request is allowed or not.
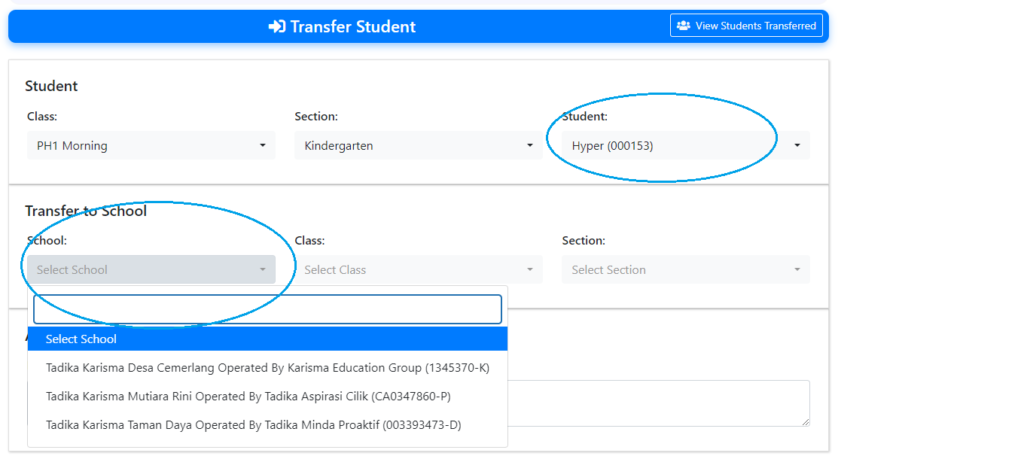
- At the student section , click the transfer student button. Here, you can see a list of students who have transferred to and out of your school.
- To transfer a student from your school to another, click the transfer student link at the top. Choose the student you wish to transfer, as well as the school to which you wish to do so.
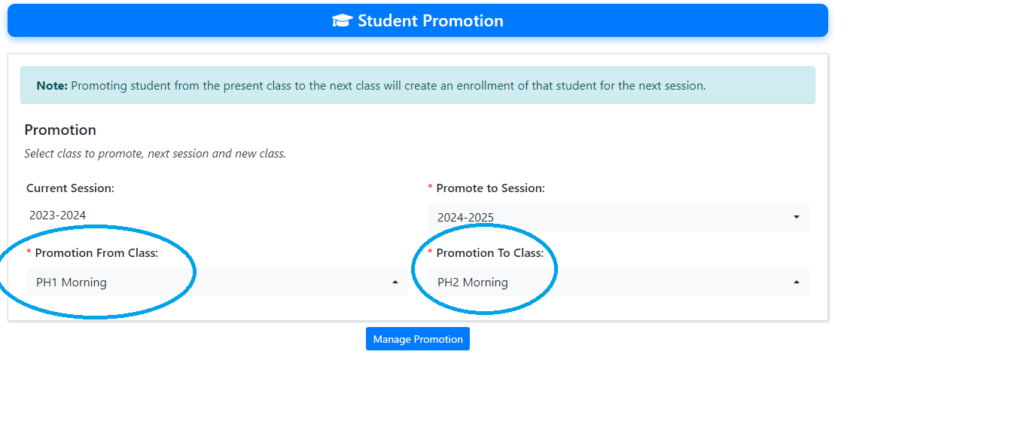
- In the student section, select the student promotion button. Here, you can promote students for the upcoming class or session.
- For an example, the current session is 2023–2024; during the following session, 2024–2025, you need to promote the student from ph1 to ph2.